Migrating from XAMPP to LAMP stack on Ubuntu requires careful handling, particularly to ensure proper database compatibility, avoiding issues like charset conflicts or login problems in phpMyAdmin. In this guide, we will detail a process that avoids migrating unnecessary default databases (e.g., phpmyadmin, mysql, performance_schema, test) and focuses only on user-created databases and custom configurations.
If you have not setup the xampp and want to fresh start with lampp stack so follow this article.
Table of Contents
Why Migrating from XAMPP to LAMP Stack Is Useful?
XAMPP is a cross-platform development environment, while LAMP is a native stack optimized for Linux. By switching to LAMP, you leverage improved performance, better security, and seamless integration with Ubuntu’s ecosystem.
However, XAMPP’s lack of default passwords and its inclusion of extra databases can cause issues in LAMP’s stricter environment, necessitating a clean and targeted migration.
Follow step by step process to Migrating from XAMPP to LAMP Stack.
Step 1: Backup Essential Data
Careful backups prevent data loss and allow for a smooth migration process.
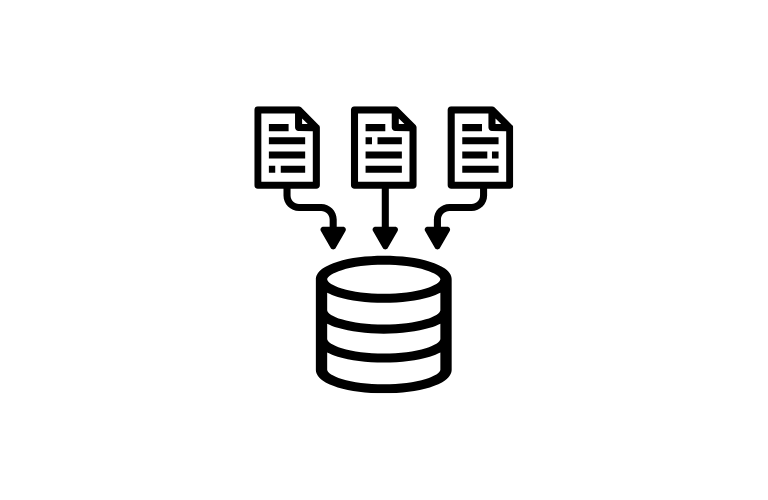
1. Export User-Created Databases Only
Use the mysqldump command, but exclude the following default MySQL databases:
- phpmyadmin
- performance_schema
- mysql
- test
Run the command:
/opt/lampp/bin/mysqldump -u root --ignore-database=mysql --ignore-database=performance_schema --ignore-database=phpmyadmin --ignore-database=test --all-databases > user_databases_backup.sqlThis ensures only your custom databases are backed up.
2. Backup Project Files
Copy all your web project files from XAMPP’s htdocs directory to a secure backup location:
cp -r /opt/lampp/htdocs /path/to/backup/3. Document Configurations
If you’ve made changes to XAMPP’s php.ini, .htaccess, or other configurations, back up those files for reference:
cp /opt/lampp/etc/php.ini /path/to/backup/Step 2: Uninstall XAMPP
Completely remove XAMPP to avoid conflicts during LAMP installation. (Or you can take backup also)
1. Stop XAMPP Services
sudo /opt/lampp/lampp stop2. Delete XAMPP Files
sudo rm -rf /opt/lamppStep 3: Install LAMP Stack
Now, set up the LAMP stack on your Ubuntu system.
1. Install Apache
sudo apt update
sudo apt install apache2 -y
Start and enable the service:
sudo systemctl start apache2
sudo systemctl enable apache2
2. Install MySQL (or MariaDB)
Install and secure the database server:
sudo apt install mysql-server -y
sudo mysql_secure_installation
3. Install PHP
Install PHP along with necessary modules:
sudo apt install php libapache2-mod-php php-mysql -yStep 4: Restore User Data
Restore only the backed-up user databases and project files.
1. Import Databases
Log into the new MySQL server and import your custom database dump:
mysql -u root -p < /path/to/user_databases_backup.sqlVerify that only your databases have been restored:
mysql -u root -p -e "SHOW DATABASES;"The default databases (mysql, performance_schema, etc.) should remain untouched.
2. Transfer Project Files
Move your project files into Apache’s default web directory:
sudo cp -r /path/to/backup/htdocs/* /var/www/html/Set the correct permissions:
sudo chown -R www-data:www-data /var/www/html/
sudo chmod -R 755 /var/www/html/
Step 5: Test Your Environment
Ensure everything is working correctly post-migration.
1. Check Apache
Visit http://localhost in a browser to confirm Apache is running.
2. Verify PHP
Create a PHP info file:
sudo nano /var/www/html/info.phpAdd the following content:
<?php
phpinfo();
?>
Save and visit http://localhost/info.php to see PHP configuration details.
3. Test Databases
Ensure that your applications can connect to the databases. Modify application configuration files to use new credentials if required.
Step 6: Address Common Migration Issues (Optional)
1. Charset and Collation Problems
If you encounter charset issues:
Open the MySQL configuration file:
sudo nano /etc/mysql/my.cnfAdd the following lines under [mysqld]:
character-set-server = utf8mb4
collation-server = utf8mb4_general_ci
Restart MySQL:
sudo systemctl restart mysql2. phpMyAdmin Login Errors
If phpMyAdmin login fails after migration:
Create a new MySQL user:
mysql -u root -p
CREATE USER 'phpmyadmin_user'@'localhost' IDENTIFIED BY 'your_password';
GRANT ALL PRIVILEGES ON *.* TO 'phpmyadmin_user'@'localhost';
FLUSH PRIVILEGES;
Update phpMyAdmin configuration to use the new user.
3. Missing Extensions
Ensure all required PHP extensions are installed:
sudo apt install php-xml php-mbstring php-zip -yConclusion
Migrating from XAMPP to LAMP Stack on Ubuntu provides a more secure and robust development environment. By excluding unnecessary default databases and configurations, you avoid common pitfalls like login errors or charset mismatches. With this guide, your migration will be smooth, efficient, and error-free.


